

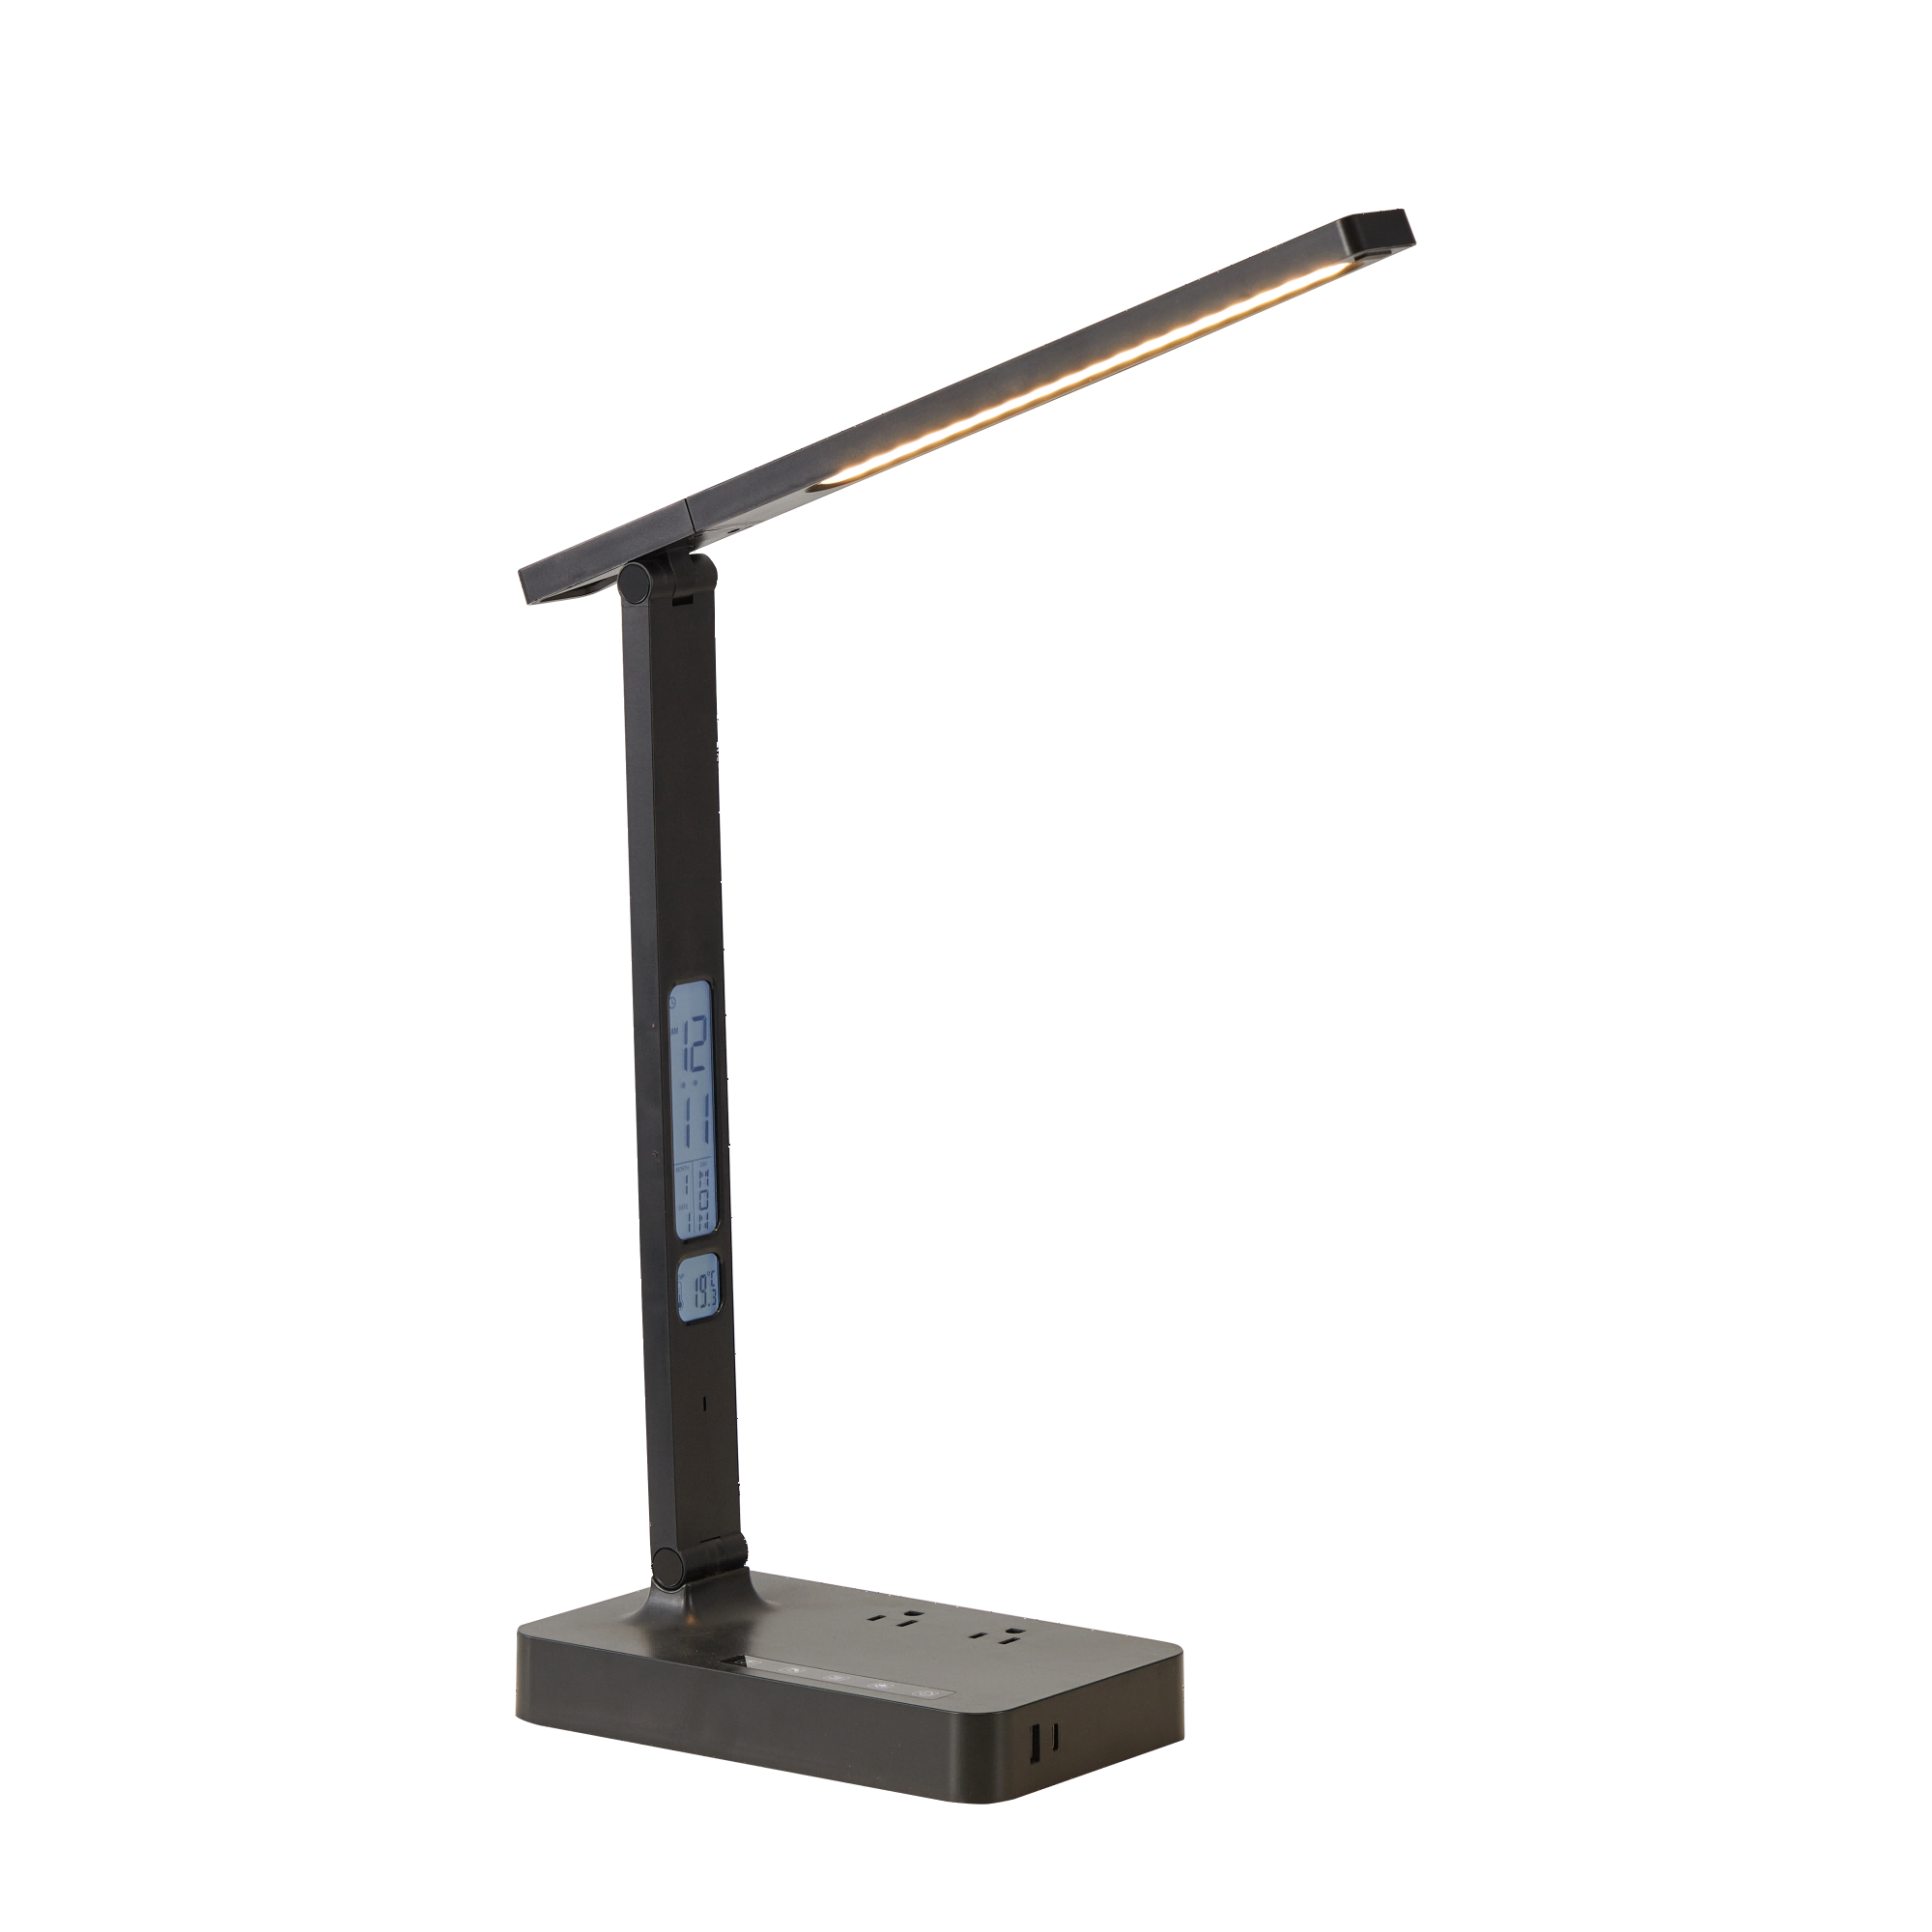
A clamp desk lamp can free up working space, yet still be the wrong product for the desk underneath it. A frame rail may block the lower pad. A rounded edge may prevent full contact. The lamp may fit at sitting height but pull on its power cable when the desk rises.
For importers, office suppliers, and private label brands, these are compatibility questions to resolve before ordering. A sample attached to one convenient showroom desk does not establish that it will fit your customers’ furniture.
To check whether a clamp desk lamp fits, verify the supported desk-thickness range, flat contact area, underside clearance, rear clearance, useful arm reach, and cable movement. Then confirm the exact lamp-and-desk combination with a physical sample. Maximum clamp opening is only one part of that decision.
Measure the mounting location, not just the desktop
Start with the location where the lamp will actually be installed. Photograph it from above, from the side, and from underneath. Include a ruler in the side and underside views, but record the measurements separately so the supplier does not have to estimate dimensions from a photograph.
For a furniture rollout, group desks by construction and edge profile. Two desks with the same overall dimensions may need different mounting solutions.
| What to record | How to check it | What the supplier must confirm |
|---|---|---|
| Desk thickness | Measure between the surfaces that the upper and lower pads will contact, at the intended position. | Supported minimum and maximum thickness, including the supplied pads. |
| Flat contact area | Check the usable flat area on top and underneath; note bevels, rounded edges, seams, and trim. | Both pads can seat as intended without overhanging or bridging an unsuitable edge. |
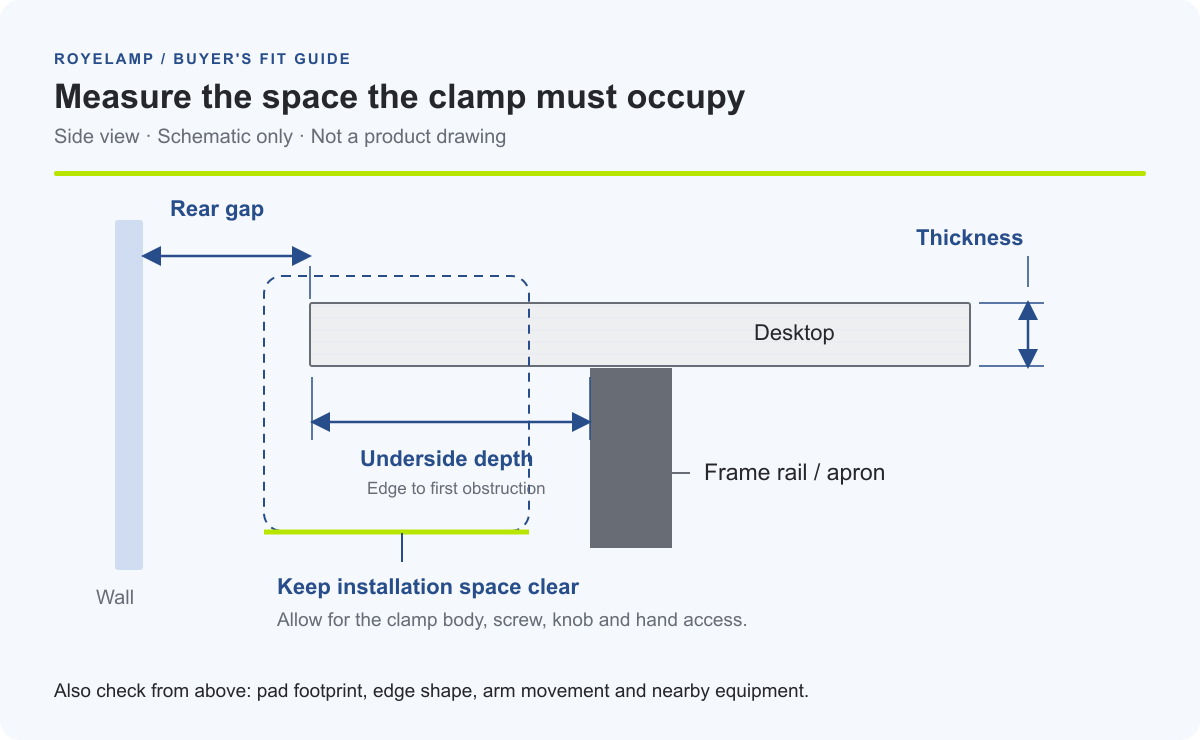
| Clear underside depth | Measure inward from the edge to the first frame rail, apron, drawer, or cable tray. | The lower pad, screw, and clamp body fit in that space. |
| Installation access | Check the space below and around the mounting point. | A user can insert the clamp and turn its knob or tool through the required movement. |
| Rear and side clearance | Measure the gap to walls, partitions, monitor mounts, and neighboring furniture. | The clamp body and arm can be installed and adjusted without collision. |
| Working position | Mark the task area, screen position, and intended lamp-head height. | The head reaches a useful position while the mount and joints remain stable. |
Why a “60 mm clamp” is not a complete fit specification
An opening measurement describes a gap. A usable mounting specification also needs a minimum thickness, pad geometry, installation space, and suitable supporting surfaces.
For example, the RoyeLamp RY229-B articulated clamp desk lamp lists an approximately 60 mm clamp opening and a single circular head on an articulated arm. The RY229-C dual-head clamp desk lamp also lists an opening up to approximately 60 mm, but uses a different head and arm arrangement. Those listings identify candidates to assess; they do not prove that both models fit every desk below that thickness.
If your desktop is close to a stated maximum, request the supported installation range and verify the sample. Do not assume an approximate opening includes enough room for insertion, pad seating, manufacturing variation, or any approved mounting accessory. Likewise, do not assume that a maximum opening tells you how securely the clamp closes on a very thin surface.
Ask for a dimensioned clamp drawing showing the pads, required edge setback, lower screw travel, and space occupied below and behind the desk. Do not estimate these dimensions from a lifestyle image.
Check the desktop construction before tightening
A clamp transfers force through relatively small contact areas. The surface material and the structure beneath it therefore matter as much as the visible finish.
As a conservative purchasing rule, do not approve installation on glass, a hollow-core top, a damaged edge, or an unsupported thin panel without confirmation from the furniture and lamp suppliers for that exact mounting arrangement. A desktop’s overall load rating does not, by itself, establish suitability for concentrated clamp pressure.
Protective pads also have limits. They may help protect a finish and support grip, but they do not establish the strength of the desktop beneath them. Check the sample for slipping, pad movement, indentation, staining, and finish changes using an agreed contact period on a representative surface.
Follow the supplied tightening instructions. If they are unclear, ask the supplier to clarify them. Do not compensate for a poor fit by overtightening, adding an improvised spacer, or fitting a generic reinforcement plate. Any proposed accessory changes the mounting arrangement and needs its own approval.
Confirm useful reach with the screen in place
The important dimension is where the lamp head can operate after the clamp has been installed. Adding together arm-section lengths does not establish usable horizontal reach: joint angles, stops, head orientation, and nearby objects can restrict movement.
Set up the intended monitor, monitor arm, books, and other equipment. Move the lamp through normal working positions and check whether it lights the task without obstructing the screen or placing the light source in the user’s line of sight.
OSHA’s workstation environment guidance recommends supplementary task lighting for reading and writing while limiting brightness around monitors, and positioning desk lamps to avoid reflections on the display. Use that principle when evaluating the complete setup rather than approving reach in an empty workspace.
Extending an arm farther from its mounting point increases the turning effect of a given load. Check position holding at the farthest intended working position within the supplier’s permitted range, not only with the lamp folded close to the clamp. Do not hang accessories from the arm unless the manufacturer permits it.
Treat a sit-stand desk as a moving installation
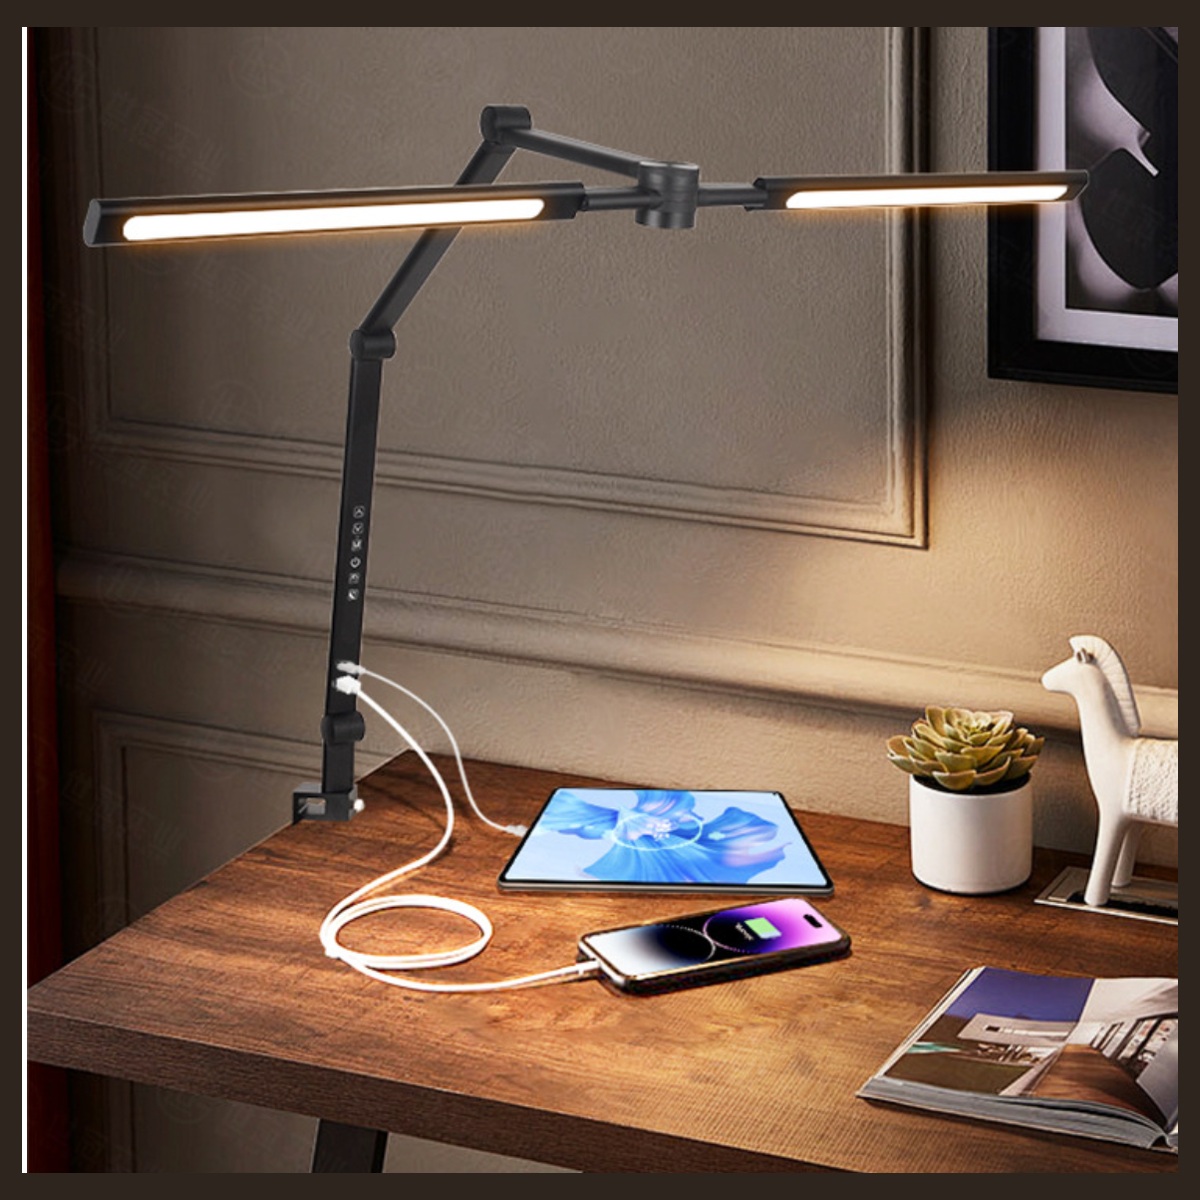
Cable routing that looks tidy at sitting height may become a restraint when the desktop rises. Review the complete route from the lamp to its adapter and power source, including any device cables connected to the lamp.
The Canadian Centre for Occupational Health and Safety’s sit-stand desk guidance advises checking that cables, electrical access, storage, and the layout do not interfere with desk adjustment.
During a supervised sample check, follow the desk manufacturer’s instructions and move the desk through its intended height range. Stop if a cable becomes tight, catches, rubs against an edge, or approaches a pinch point. Check both extremes: adequate slack at maximum height must not create a trapped loop at minimum height.
Record the outlet position, adapter placement, routing points, and cable length in the approved setup. Avoid a universal “extra cable length” rule; the requirement depends on desk travel, outlet location, and the actual route.
A fit example: the thickness passes, but the clamp does not
Consider this illustrative scenario, not a RoyeLamp product specification:
| Item | Example finding |
|---|---|
| Desktop thickness | 25 mm; within the hypothetical lamp’s confirmed thickness range. |
| Available flat underside depth | 18 mm before a frame rail begins. |
| Space required by the proposed clamp | 40 mm of unobstructed underside depth, according to its drawing. |
| Decision | Reject that mounting position: the clamp cannot seat as designed. |
Opening the clamp wider does not remove the frame rail. Possible next steps are to assess a different edge position, choose another mounting design, or use a suitable freestanding lamp. Recheck reach and cable routing after any change in position. Do not remove a structural rail to make the lamp fit.
This is why a supplier needs an underside photograph as well as a desktop thickness measurement.
Run a mounting-specific sample check
Use the ordered lamp, supplied pads and hardware, and representative furniture. The following is a practical buyer review, not a substitute for applicable safety testing or the manufacturers’ installation instructions.
- Install as a customer would. Use only the supplied or specifically approved parts. Record whether the instructions, access, and tools are sufficient.
- Inspect contact and seating. Confirm that both pads seat correctly, the clamp does not foul the frame, and the screw and knob remain accessible.
- Adjust through intended working positions. Check for clamp rotation, slipping, joint drift, desk flexing, collision, and cable strain. Stop if the installation becomes unstable.
- Check normal interaction. Operate touch controls and connect or disconnect cables where applicable. Observe whether those ordinary actions disturb the mount.
- Inspect after an agreed period and adjustment sequence. Record loosening, pad displacement, finish marks, and position holding. Agree duration, cycles, and acceptance limits with the supplier before testing.
Keep photographs, lamp revision, desk identification, measurements, and the result together. For mixed furniture, maintain a compatibility list by desk model and mounting position instead of approving one lamp for the entire fleet after one successful installation.
Record accepted mounting details in the golden sample approval file. If the clamp, pads, arm, or supplied accessories change, review the affected compatibility evidence again.
Give customers installation information they can use
For retail and e-commerce programs, turn the approved findings into a clear mounting diagram and short installation instructions. Include the verified thickness range, required flat contact area, underside and rear clearances, surface restrictions, tightening method, and supplied parts. Avoid “fits all desks” language.
Make these details visible before purchase. They can help customers recognize an unsuitable desk before opening a support ticket or requesting a return. Keep installation drawings consistent across the product page, packaging, and manual.
For a wholesale inquiry, send this brief alongside your usual quantity and market requirements:
We are evaluating clamp desk lamps for the attached desk types. Please review the top, side, and underside photographs and the recorded mounting dimensions. Confirm the supported desk-thickness range, suitable surface construction, pad footprint, underside and rear clearance, installation method, and useful reach for the proposed model. Please identify any restrictions and provide a sample plan for the complete lamp-and-desk setup.
To discuss a RoyeLamp project, send your desk measurements and mounting photographs together with your preferred model, target market, and order quantity. Resolve the installation conditions before approving a bulk order.
Frequently asked questions
Can a clamp desk lamp be used on a glass desk?
Do not assume it can. Obtain confirmation for the exact glass desktop and mounting arrangement from the furniture and lamp suppliers. A soft pad or aftermarket plate alone does not establish suitability. If approval is unavailable, assess another mounting option.
What if the desktop thickness exactly matches the listed maximum?
Treat it as a fit question requiring verification, especially when the figure is approximate. Ask for the supported installation range and check that the supplied clamp can be inserted and seated correctly on the actual desk.
Can I replace the clamp with a larger one?
Only if the lamp supplier approves that combination. A replacement must match the arm connection, fastening method, structural requirements, and intended use. A larger opening alone does not establish compatibility.
Is a clamp lamp always better for a small desk?
It can release useful surface space, but it needs a suitable, accessible edge. If the desk has obstructed edges, unsuitable construction, or insufficient clearance, a compact freestanding lamp may be easier to install and support.
